

3d Design Jobs Portland Or
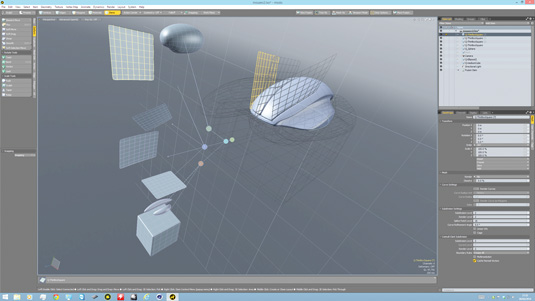
The new MeshFusion plug-in for Modo has an intuitive tree view, which allows you to visualise all of the meshes in your MeshFusion object and their boolean interaction with each other. The rapid prototyping of designs is an area where MeshFusion excels.
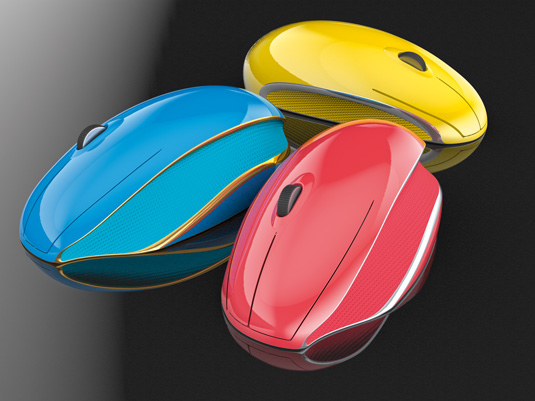
For this training I've created a new shape for a mouse; this would normally require the creation of a Nurbs model in another application or a very complex subD model which would be hard to iterate, with MeshFusion we can start with a simple base shape, which you can add or subtract from with either preset meshes or meshes that you make yourself with Modo's modelling toolset.
This same advanced modelling toolset can be used to tweak meshes on the fly once they have been added to the MeshFusion objects to tweak your design as you go. As you refine the model, use the strip tools within MeshFusion to refine the corner and intersection edges to create profiles that you feel enhance the overall shape of the model.
When you have a shape that you like, you can preview the design with your client via a simple single material options render. When you have sign off, you can convert the model into an airtight mesh for 3D printing or for more complex 3D work such as advanced texturing, both of which can be handled within Modo.
01. Choose the objects
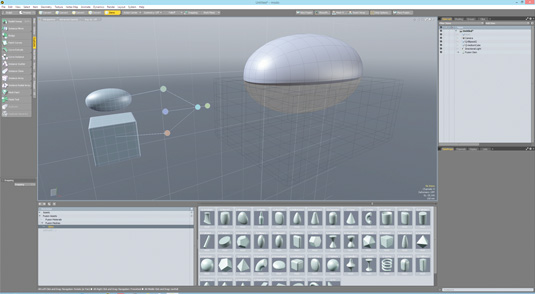
Start with one of MeshFusion's Qbic Mesh sphere objects. Add another Cubic Qbic into the item list and select them both with the cube to subtract from the sphere.
Even if you get the order wrong simply click and drag the objects to the right node in the interactive MeshFusion tree. Then use Modo's modelling tools to adjust the sphere to a shape which you like.
02. Create sculpted sides
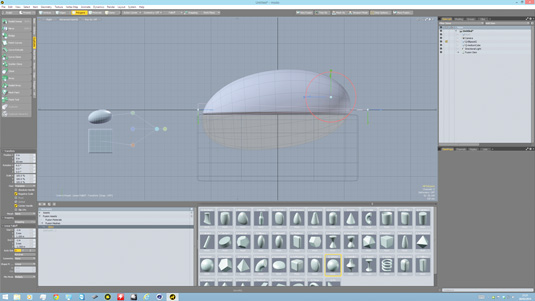
Add another Qbic sphere and then drag it from the item list onto your mesh object: Modo asks which MeshFusion task you'd like to perform with this object.
Choose subtraction and move the new sphere to the side of the MeshFusion object to sculpt out a thumb grip. In polygon mode duplicate the sphere so you can sculpt both sides independently or with Symmetry.
03. Create the buttons
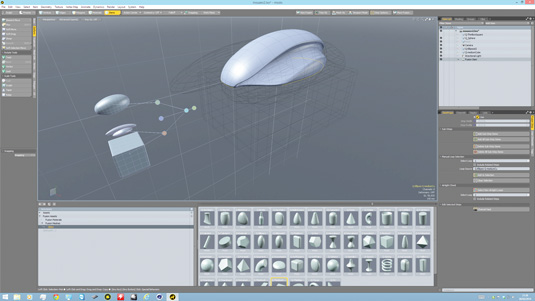
Make an intersection mesh by adding a thin Qbic object which enables you to create thin cuts into the surface. Duplicate the thin Qbic object and rotate it 90 degrees to form the front cut for the buttons; add it as an intersection object.
Go to Polygon mode and flip the polys for each thin object to create the cuts. Repeat this process for the side cuts, but use the Bend tool create curved cuts.
04. Refine the model
Once you're happy with the overall shape, refine the edges by using the Strip tool. Adjust the profile and width of the strips either one at a time or by using the Select Sibling Sub-Strips to choose all the strips on a specific intersection between the two shapes.
Now you're happy with your model, you can use Modo's render tools to create a render of your live MeshFusion prototype.
Words: Mike Griggs
Mike Griggs is a concept 3D, visual effects and motion graphics artist working across television, exhibition and digital design. This article originally appeared in 3D World issue 182.
3d Design Jobs Portland Or
Source: https://www.creativebloq.com/3d/how-create-rapid-prototypes-your-3d-designs-91413024
Posted by: trippentsion81.blogspot.com
0 Response to "3d Design Jobs Portland Or"
Post a Comment